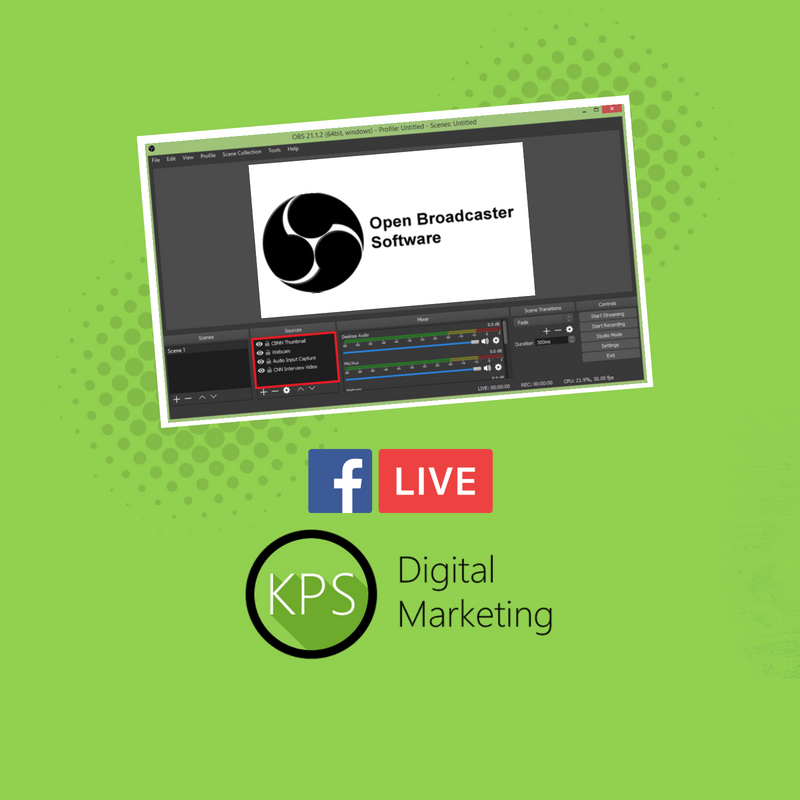
What can OBS Studio help you achieve with Facebook Live?
Ultimately, OBS Studio allows you to incorporate and move between different types of media within your Facebook live stream. This provides a more professional piece of content that will help you stand out online.
Some of the basic features include;
✅ Streaming pre-recorded video content
✅ Display multiple-source scenes (webcam, video, images, screen capture etc)
✅ Transitions between scenes
✅ Preview scenes & sources before they are live
How to install, setup and use OBS Studio
Step #1 Download and install OBS Studio
You can download OBS Studio here. Follow the setup wizard, you shouldn’t need to change any settings when installing.
Step #2 Get stream key from Facebook
Click ‘live video’ from your Facebook page/profile. Then click ‘connect’ and copy the ‘Stream Key’.

Step #3 Input stream key to OBS Studio
Choose ‘Streaming Services’ under ‘Stream Type’. Then choose ‘Facebook Live’ under ‘Service’. Paste the Stream Key in and click ‘Next’. Click ‘Yes’ and ‘Apply Settings’.

Step #4 Add sources to OBS Studio
Add the different types of media you would like to incorporate into your Facebook live stream.

Step #5 Practice moving between media sources
To ensure your live stream runs smoothly, you’ll want to practice moving between the media sources you have added.
E.g. in this example, we started with an image for the thumbnail, then we moved to a webcam live broadcast, then we played a video, then we went back to the webcam for a live Q & A.

Step #6 Input copy and Title for the Facebook live stream
Go back to the screen where you got the stream key from and write the copy and a title for the Facebook live stream post.

Step #7 Click ‘start streaming’ on OBS Studio
When you click ‘start streaming’ wait for a few seconds and you should see the content you have on OBS Studio, streaming on the pre-screen for the Facebook Live (the same place where you added copy and title to the post).

Step #8 Practice going live using ‘only me’
Again, to ensure the FAcebook live stream runs smoothly, you’re going to want to practice using the ‘only me’ feature. This feature will allow you to do a stream that won’t be seen by anyone but you (great for practising).

Step #9 Click ‘Go Live’
Now it’s time to go live (remember this will only be viewable by you as you are still practising using the ‘only me’ feature.

Step #10 Practice using OBS Studio to move between media
Practice moving between the different media in OBS Studio, as if it was the real deal.

Step #11 Click ‘End Live’ to stop the live stream
This button is in the bottom right of the screen.

Step #12 Click ‘Done’ and watch replay on your profile
Watch the video back to see if everything ran smoothly. If it didn’t, keep practising.

Step #13 If you are happy, then go live for real (Step #9)
Now it’s time for the real deal. You’re going to want to do steps 2 & 3 again as there will be a new stream key for the new video. You can click ‘settings’ and then ‘stream’ in OBS Studio to input a new stream key.
Step #14 Add Timestamps, captions and a thumbnail
Once the video is posted, we want to ensure replay viewers have the best experience possible.
To ensure this happens, click the 3 dots in the top right of the video on your page and then click ‘edit post’.
Add timestamps into the copy, add captions and add a decent thumbnail.


